Search This Blog

Wednesday, March 20, 2013

NAEA Fort Worth!

My very first trip to NAEA!
It was a great experience and I got to see a few of my art teaching heroes!
 I made a hat (among other things)!


 I got to meet Andy Warhol at NAEA! :)

Thursday, March 7, 2013

5th Grade Projects

My 5th graders have been working so fast! I'm always trying to stay one step ahead of them because they finish their projects quickly.

The first one is a Lego Style Portrait. They had to create a Lego character, fill the page, and color the background. Unfortunately,I only got a few really great ones on the Lego style portrait.

The nerd Lego man was my favorite!


Next is a one point perspective project. You've probably seen it before:


 GREAT results on this project.

 And here is our version of Andy Warhol's art : Pop Art Scratch Art!
They had to draw a symbol that represents themselves and tell me why they drew it.


That's a paintbrush, if you can't tell :)

 AND finally the displays from our Fine Arts Festival:


Sunday, January 27, 2013

More Tigers and Displays!


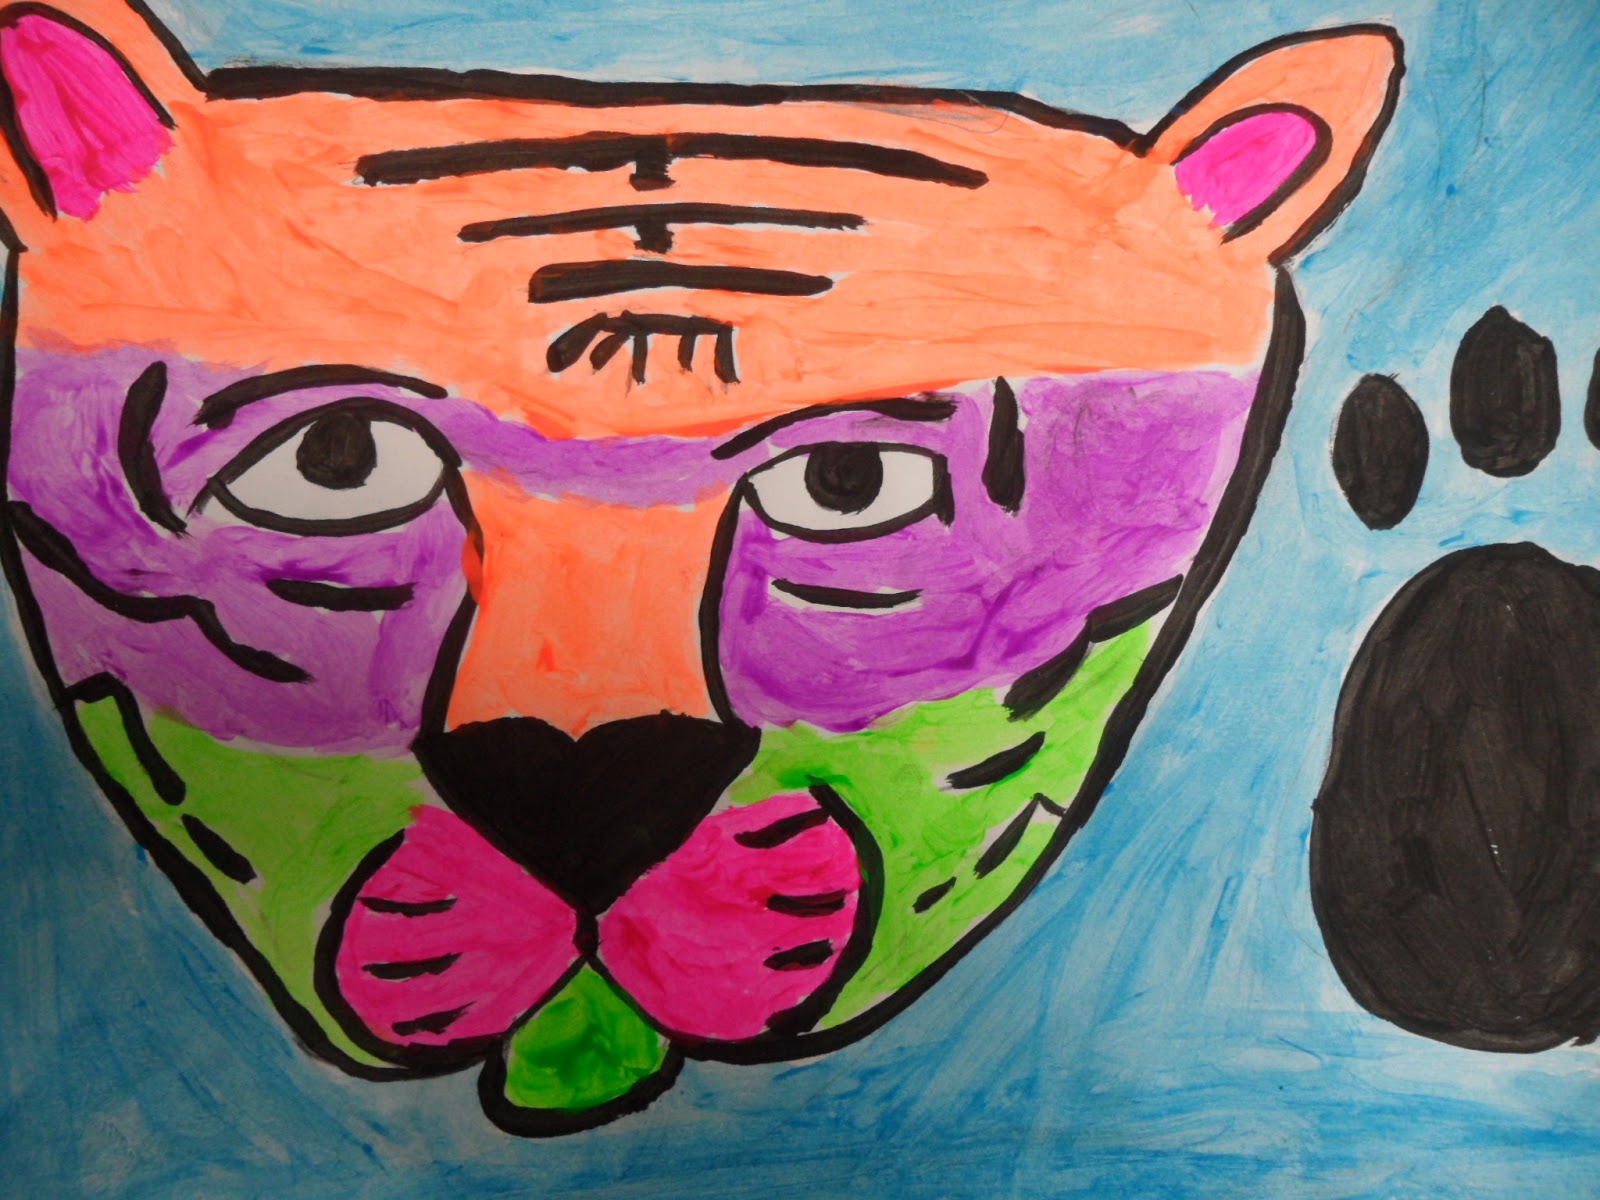
Here are some more 6th grade neon tiger paintings! There are a lot of great ones!


Finally, 2 random pic of my Bulletin Boards:

 Keith Haring Drawings


Aboriginal Dot Paintings

Tuesday, January 22, 2013

Neon Tigers

I got this from one of my favorite blogs. Here is the link: http://elementaryartfun.blogspot.com/search/label/zebras
 My students really enjoyed making these. I showed them how to draw the tiger, and we drew it as a group. I think painting them with neon paint really made them stand out...and who doesn't love painting with neon paint?
My example with just the black lines painted


 Another example of mine after I painted the tiger


A student's tiger with sunglasses.

A lot of them added sunglasses, hats and mustaches. Those are my faves.
Most of them just finished this project so there will be more to come! These will be great for our Fine Arts Festival next month!

Wednesday, June 13, 2012

Chalk Pastel Warm/Cool Landscapes

4th Graders learned about warm and cool colors and how to use pastels when they made these landscapes. First we talked about what kinds of things you find in a landscape, such as hills, mountains, trees, and other things you find in nature. Next, I demonstrated how to draw the landscape. We did these on 9"x12" black construction paper and drew everything with regular glue. You don't even have to draw it with a pencil first. Just draw your landscape on the black paper with a regular glue bottle, making thick white lines. The three things that make up the landscape are:

1. Rolling Hills (Bottom)
2. Rounded mountains (Middle)
3. Concentric circles (Top)

The rolling hills are easy, just make wavy lines, starting at the bottom, and put them all the way across your paper. You can make as many as you want. Next is the rounded mountains. These are just curved lines. they should touch the wavy lines. I like to make them rounded because everything else is rounded or curved, and I think it looks better than pointy mountains. Finally the concentric circles will go in either corner. This will be the sun or moon, depending on what time of day you want it to be. I started with a small circle, and then drew about four more around it. Drawing all of this with glue will take one day. After the glue is on the black paper, you have to be really careful not to let it drip or bend your paper on the way to the drying rack. The glue will be completely dry by the time they have their next art class.

On the next two days, students will color their different parts of the landscape with chalk pastels. They will use both warm (red, orange, yellow) and cool (green, blue, purple) colors in an alternating pattern. For instance, if it is nighttime, the moon or circles will have to be colored cool colors. Then the mountains should be colored warm, and the hills should be cool. Nighttime is easy because you can leave the sky black.
The chalk pastels or soft pastels can get messy, so I always demo how to use them first. I keep them in plastic bags at their tables and at the end of class, I have them clean up with baby wipes or wet paper towels and hand sanitizer. After they are all done I spray them with Aqua Net (cheap hairspray works the best!) so that the pastels stick to the paper more easily. I always send home pastels in a manila paper folder or tape a manila paper cover page on top so that it doesn't get as messy.

I usually get great results with this project. Take a look...


One of the reasons I love doing the glue on black paper with pastels is because they turn out so bright!


Friday, June 8, 2012

Art Book & Book Character Dress Up

Every year for Children's Book Week, at one of my schools, we have a book character dress up day. Our librarian gave me the idea for a great book for me : Bridget's Beret!
I LOVE this book. Not only does the main character have my name, but it is a really great art book and it has information about real art in it. The only thing that would make it better would be if her name was spelled the same as mine :)
 Bridget's Beret [Book]


I recommend getting it for your classroom. I know I will!


Thursday, June 7, 2012

Robots

Towards the end of the school year, I had two different grade levels were working on robots at the same time. The 3rd graders did the robot drawings and the 5th graders made the metal robots. One thing I learned is that kids love robots!

These were the rules they had to follow for the 3rd grade robots:
1. Fill up the page
2. Include a background (No robots floating!)
3. Draw big (Must draw more than one if you draw small!)
4. Include details
5. Outline all of your pencil lines with a sharpie and don't leave very much white space when you color it.
6. Make the robot different from everyone else's

If I had to include another rule it would be to not have a triangle sun in the corner of the paper and not to color a blue line at the top of the page for the sky! :)
This was good practice for them to learn to fill the page, add details, and make a complete drawing. I think they were creative with their backgrounds and details. Here are some favorites...
Robot in Space!

Dancing Robots!

A lot of kids went with a space background

Robot and scientist working on him! love it!

Next are the 5th grade robots. This was the first time I did this. As with any project, I may be making some changes for the next time.
Here are the things they used:
1. Aluminum tooling foil or regular foil.
2. Coke can tabs or pop tops 
3. Brads
4. Scissors
5. Elmer's glue or tacky glue
6. Plastic baggies
7. Rulers
8. Hot Glue 
9. 9"x12" black construction paper

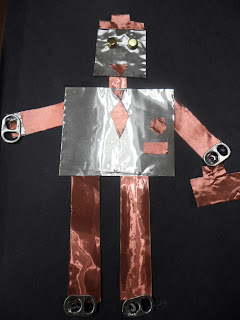
These were made from aluminum tooling foil that comes in the roll. You can cut it with regular scissors. It's copper on one side and silver on the other, so students had the option of making it one color or two. The great thing about the metal is that its thick enough where it won't rip and you can draw on it with a pencil to make designs, but its not too sharp where they are going to get cut. When we ran out, I used regular foil which was easier to glue, but also easier to rip.
They were given the same size rectangle of the metal to make all of the robot parts (body, arms, legs, head, neck), and four coke can tabs (two for hands, two for feet), two brads for eyes, and a plastic bag to keep all of their pieces.
On the first day they were given all of their materials and the black paper. They used their rulers and pencils to draw the shapes on the metal and cut out their pieces. They laid out the pieces on the black paper to see how to make the robot fit.
On the second and third days, they glued the pieces on with regular Elmer's Glue. You could also use tacky glue, but all we had was Elmer's and it worked fine. Going over it with a ruler helped and wiping up the glue that comes out the edges was important. One thing I emphasized with this one is good craftsmanship. The gluing can get messy if they don't take their time and clean it up. Next they poked the brads through the head of the robot to make the eyes (some needed help with this) and used all of their extra pieces for the details.
Finally I helped them glue on the hands and feet with hot glue. This part took some time, but I managed to get them all done on the last day they worked on it. Check them out...

Plain and simple robot
Robot and friend!

Business man robot!

Robot with top hat and cane!

Who doesn't love a robot, right?